 How-to
7 Steps to Professional Whole Home Audio System Installation
Last Updated: November 8, 2026
Quick Summary
A professional whole home audio system installation starts with a room-by-room zone plan, then moves through equipment selection, wiring, zone configuration, streaming integration, and testing. Each zone gets its own amplifier channel and control point so rooms play independently. Decide your zone list before wiring, since adding zones later means new cable runs and possibly a larger amplifier.
- An audio zone is a room or group of rooms playing the same source at the same volume.
- Wired systems run speaker cable from a central rack and do not depend on Wi-Fi.
- In new construction, cable runs happen after framing and before insulation.
- Every professional quote reduces to five cost buckets, including speakers and amplification.
- Keep audio cables separated from electrical lines to avoid hum.
Table of Contents
- Before You Install: Planning Your Whole Home Audio System
- Step 1: Choose the Right Equipment and Audio Sources
- Step 2: Plan Wiring and In-Wall Speaker Installation
- Step 3: Run a Multi-Room Audio System Installation for New Builds and Retrofits
- Step 4: Set Up Home Audio Zones and Independent Room Control
- Step 5: Connect Streaming, Smart Home, and Network Systems
- What a Whole-Home Audio System Cost Looks Like
- Step 6: Test, Troubleshoot, and Maintain the System
- Frequently Asked Questions
Before You Install: Planning Your Whole Home Audio System
A professional whole home audio system installation starts long before anyone cuts drywall. It starts with a room-by-room plan that matches how your household actually listens. At Integrity Home Technologies, we have spent more than 20 years installing low-voltage and audio systems, and the projects that go smoothly are the ones planned on paper first. Below, we walk through the full process, from equipment selection to testing, so you can see exactly what professional installation involves and where the real decisions get made.
Whole home audio is a distributed sound system that sends one or more audio sources to speakers in multiple rooms, with each room controlled independently. The planning stage decides three things: which rooms get speakers, whether the signal travels over wire or wirelessly, and how many independent audio zones you need.
Map Rooms, Uses, and Home Audio Zones
An audio zone is a room or group of rooms that plays the same source at the same volume. A kitchen and adjacent dining area often work as one zone. A primary bedroom and a home office almost never do. Walk your home and list every space where someone would want sound: living room, kitchen, primary bath, covered patio, garage workshop. Rank each space by daily use, not by how impressive it sounds on a proposal. Rooms used every day justify in-ceiling speakers and dedicated amplification; a guest room used twice a year usually does not.
Wired vs. Wireless: Which Fits Your Home
Wired systems run speaker cable from a central rack or amplifier to each speaker, and they do not depend on Wi-Fi. Wireless systems stream over your network to powered speakers, which is faster to install and easier to expand later. The trade-off is real: wireless depends on network coverage, and whole-house streaming can strain a weak home network. For finished homes where opening walls is impractical, a hybrid approach, wired where walls are open and wireless elsewhere, is one option to consider. Decide this before buying a single piece of equipment.
Step 1: Choose the Right Equipment and Audio Sources
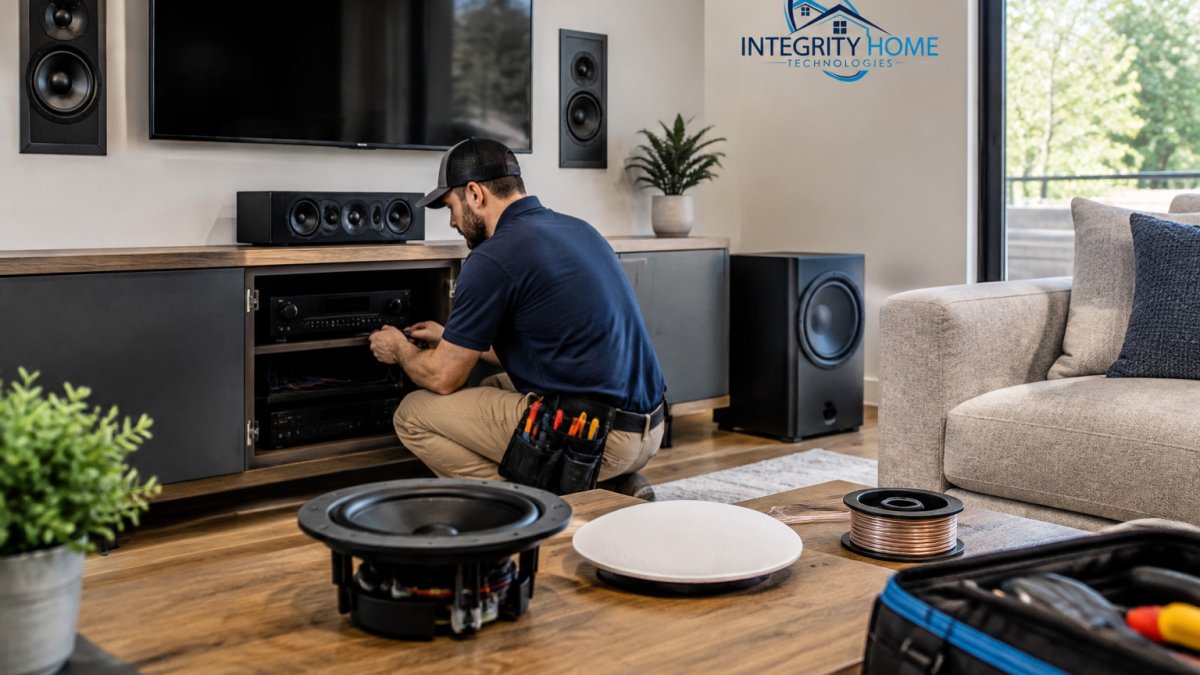
Equipment selection follows the zone plan, not the other way around. A typical system includes in-wall or in-ceiling speakers, box speakers where architecture allows, a subwoofer for the main listening room, a receiver or multi-channel amplifier to power everything, and a streaming source such as a music service or network player. Match amplifier channels to zones: a six-zone system needs amplification for six zones, either in one chassis or stacked units. Choose speakers rated for the room's size and moisture level, and pick a streaming platform the whole household already uses. Buying equipment before the zone plan is a common ordering mistake.
Step 2: Plan Wiring and In-Wall Speaker Installation
In-wall speaker installation succeeds or fails at the rough-in stage. Before any drywall goes up, map every speaker location, confirm stud positions, and run speaker cable back to a single equipment location. Keep audio cables separated from electrical lines to avoid hum, and leave service loops at each opening. For in-ceiling speakers, check what sits above the ceiling: ductwork, plumbing, and joists all dictate where a speaker can physically go. Label every cable at both ends; future you, or the next technician, will be grateful.

Watch out: cutting a speaker hole before confirming clearance above the ceiling is the mistake that turns a simple install into a drywall repair. Measure twice, cut once.
Step 3: Run a Multi-Room Audio System Installation for New Builds and Retrofits
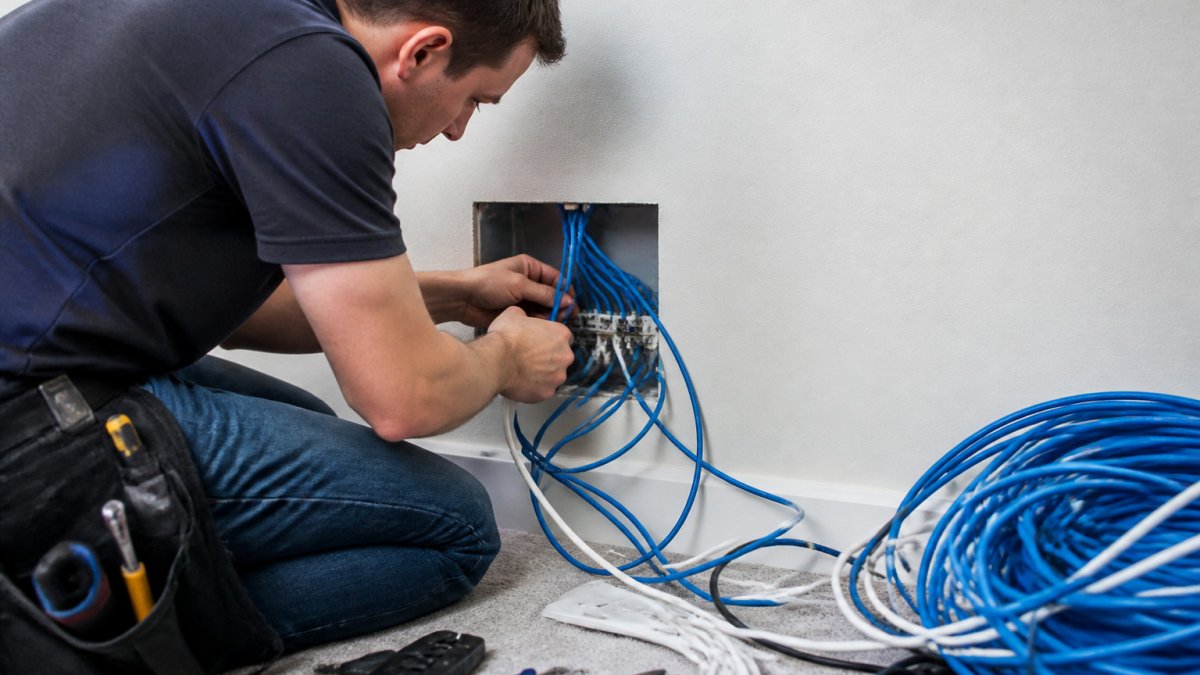
Multi-room audio system installation follows two very different paths depending on the home. In new construction, cable runs happen after framing and before insulation, which keeps labor low and results clean. In a retrofit, technicians route cable through attics, basements, and interior walls using fish tape and flexible rods, then patch and paint as needed. Retrofits generally take longer than new-construction installs. If you are building or renovating, this is the moment to run conduit and spare cable, because the cost of adding it later is far higher than adding it now. Planning conduit and spare cable during construction also makes it easier to extend the system to patios and gardens with outdoor music system installation.
Step 4: Set Up Home Audio Zones and Independent Room Control
Zone configuration is where a system starts to feel professional. Each zone gets its own amplifier channel and its own control point, whether that is a wall keypad, a handheld remote, or a mobile app. Independent room control means the kitchen can play a podcast while the patio plays music, at different volumes, at the same time. Set volume limits per zone so a child's bedroom cannot be cranked to full output, and group zones only where daily life supports it. Test each zone alone before testing them together; isolating problems at this stage saves hours later.
Step 5: Connect Streaming, Smart Home, and Network Systems
Streaming and smart-home integration turn separate rooms into one system. Connect your streaming accounts to the audio controller, then link zones to home automation scenes: music in the kitchen at breakfast, patio audio when the deck lights come on. Network connectivity is the foundation here. Wired Ethernet to the equipment rack and strong Wi-Fi coverage in every audio zone keep streaming reliable. If your network has weak spots, fix them before adding audio, or the audio will inherit every dead zone. For a room-by-room approach, see our guide on how to fix WiFi dead zones in large homes.
What a Whole-Home Audio System Cost Looks Like
Whole-home audio system cost depends on three variables: the number of zones, the quality tier of speakers and amplification, and whether the home is open for wiring or requires retrofit labor. This section breaks the budget into the line items an installer typically prices, so you can compare any proposal you receive.
The Five Line Items in Every Quote
Every professional whole home audio system installation quote reduces to five cost buckets. Ask for each one separately, because bundled pricing hides where the money goes.
- Speakers. Priced per pair. In-ceiling and in-wall models range from builder-grade to audiophile, and the spread between tiers is the single largest swing in most budgets. Box speakers cost more to place but can be reused if you move.
- Amplification and control. A multi-channel amplifier or receiver priced by zone count, plus a controller or streaming hub. More zones means more channels, and channels are the second-largest line item.
- Wiring and rough-in labor. Speaker cable, conduit where specified, and the labor to run it. In new construction this is a small fraction of the project; in a finished home it can rival the equipment cost.
- Control points. Wall keypads, handheld remotes, and app licensing. Each independent zone typically needs at least one physical control point, and keypads are priced per location.
- Programming, testing, and trim-out. Speaker installation, zone configuration, calibration, labeling, and cleanup. This is the labor most DIY comparisons omit, and it is what separates a working system from a pile of boxes.
Budget Scenarios by Home Size
A common pattern among installers is that equipment lands near half the project and labor near the other half in retrofits, while new-construction labor drops well below that share.
| Scenario | Typical Zones | What's Included | Planning Band |
|---|---|---|---|
| Starter | 2-3 | In-ceiling speakers, streaming amplifier, app control | Low four figures |
| Whole-floor | 4-6 | In-ceiling and in-wall speakers, multi-channel amp, keypads in main rooms | Mid four figures |
| Whole-home | 8-12 | Premium speakers, subwoofer, stacked amplification, keypads plus app, smart-home scenes | Low-to-mid five figures |
| Estate / outdoor | 12+ | Indoor and outdoor zones, landscape speakers, redundant sources, advanced control | Mid five figures and up |
Two adjustments move any scenario up or down. First, retrofit complexity: fishing cable through finished walls, patching drywall, and painting add labor that new construction avoids entirely. Second, control density: a system with a keypad in every zone costs meaningfully more than one controlled primarily from a phone app, even when the speakers and amplifiers are identical.
Where Budgets Quietly Blow Up
Three overruns show up again and again. Adding zones after rough-in means new cable runs and possibly a larger amplifier, so decide the zone list before wiring. Upgrading speakers after the fact wastes the original purchase and the installation labor. Skipping network improvements until after the audio is live turns every dropout into a service call. A written zone plan and a network check before signing are the cheapest insurance in the project.
Because every home and every zone plan differs, pricing depends on the specifics of your project. Visit our website to request a free estimate.
Step 6: Test, Troubleshoot, and Maintain the System
Testing is a step, not an afterthought. Play every source through every zone, check left and right channels, and confirm volume control works at each keypad and in the app. Common problems can have causes such as a ground loop or a cable run too close to electrical lines, or a loose connection at the amplifier. Label your equipment rack, keep a diagram of zone assignments, and update firmware on streaming and control devices periodically. A well-documented system is easier to expand and cheaper to service.
A whole-home audio system is only as good as its planning and installation. If you would rather not guess at zone layout, wiring paths, or equipment matching, Integrity Home Technologies can handle the assessment, design, and installation from start to finish. Our team brings over 20 years of low-voltage experience, affordable and honest pricing, and clean, careful work, backed by a 5.0 rating across 41+ Google reviews.
Frequently Asked Questions
How does a whole home audio system work?
A whole home audio system routes music from a central receiver or amplifier to speakers placed in several rooms. Wired setups use speaker cable run through walls to in-wall or in-ceiling speakers, while wireless setups stream over your network to powered speakers. A control system, often a mobile app or wall keypad, lets you pick sources and adjust volume per room. The result is seamless audio that follows you through the house without carrying a portable speaker.
How many home audio zones do I need?
Start with the rooms you use daily: kitchen, living room, primary bedroom, and outdoor patio are the most common. Each zone is a space you want to control independently, so a large open floor plan might work as one zone while separate bedrooms usually need their own. Most homes land between four and eight zones. Adding zones later is easier if wiring is planned up front, so map your rooms before buying equipment.
Can whole home audio be installed in an existing home?
Yes. Retrofit installation is common and does not require tearing up finished walls. Installers route cable through attics, basements, and interior wall cavities, then patch small openings and mount in-wall or in-ceiling speakers. The installation process takes longer than in new construction, but the finished look is the same. A site walkthrough confirms which walls have clearance and where cable can run cleanly.
Are wired or wireless whole home audio systems better?
Wired systems deliver reliable performance with no dropouts, no lag, and no dependence on Wi-Fi strength, which matters in larger homes with thick walls. Wireless systems are faster to set up and easier to expand, but they share bandwidth with everything else on your network. Many homes use a hybrid: wired speakers in main rooms and wireless speakers in spots that are hard to cable. An installer can test your network before recommending a path.