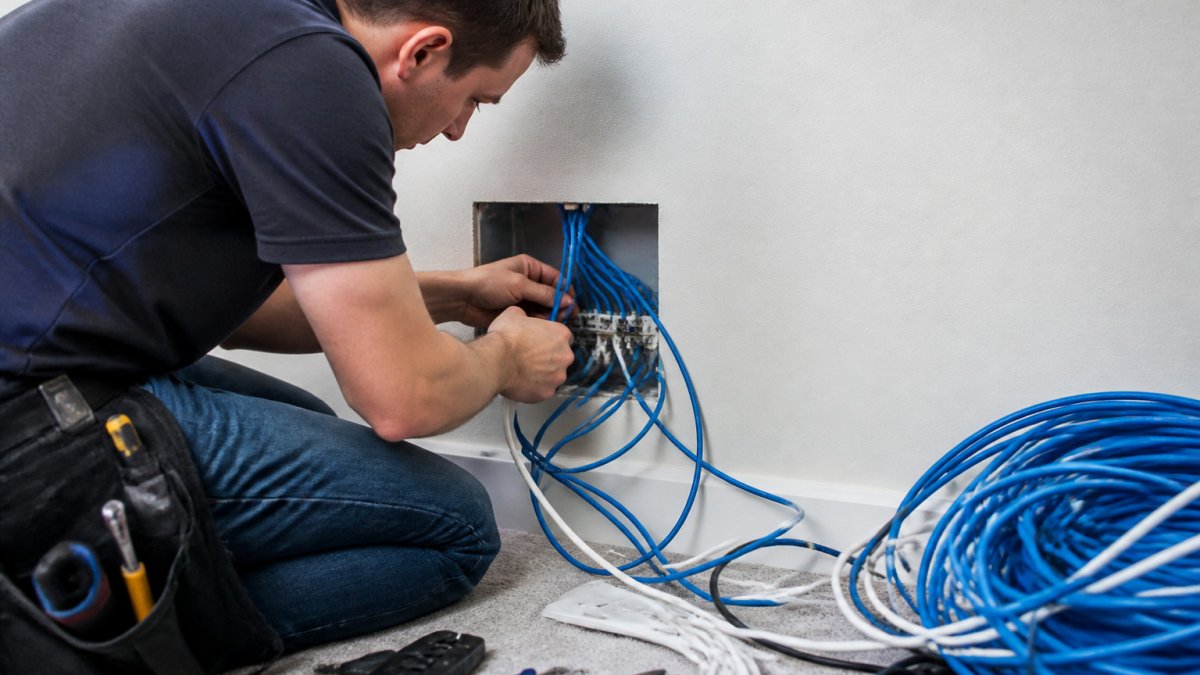
 How-to
How to Plan a Professional Network Cabling Installation
Quick Summary
Professional network cabling installation means running organized wired cable from a central rack to each fixed device, then pairing it with Wi-Fi for mobile devices. Wired connections give each device a dedicated path, so video calls, cameras and large transfers stay stable as a building grows.
- List every device that needs a stable connection, and note which ones are fixed.
- Cat6 is the practical minimum for new work; Cat6A supports 10-gigabit links over the full 100 meters.
- Install spare drops while walls are open, since cable inside finished walls is hard to replace.
- Access through walls and ceilings is the most underestimated cost in most quotes.
- Ask for a certification report and a complete cable map for every drop.
Table of Contents
- Why Structured Cabling Beats Wi-Fi Alone for Business and Home Networks
- Step 1: Assess Your Current Network and Future Needs
- Step 2: Choose the Right Cable Category and Plan for Future-Proofing
- Step 3: Understand the Main Components of Structured Cabling
- Step 4: Know What Drives Network Cabling Installation Cost
- Step 5: Schedule the Install and Plan for Minimal Disruption
- Step 6: Test, Certify, and Document Your Network Cabling
- Booking Your Network Cabling Consultation With Integrity Home Technologies
- Frequently Asked Questions
Why Structured Cabling Beats Wi-Fi Alone for Business and Home Networks
Last Updated: November 4, 2026
Wi-Fi is convenient, but it was never designed to carry every connection in a building on its own. Integrity Home Technologies has more than 20 years of installation experience, and a network built entirely on wireless is a common problem. Structured cabling is a wired backbone of organized cable runs that connect devices to a central network. Pairing it with Wi-Fi gives you speed, stability and room to grow.
Wireless signals are shared, and they weaken with distance, walls and interference. A wired connection gives each device a dedicated path. That matters for video calls, security cameras, point-of-sale terminals and large file transfers, where a dropped signal costs real time and money.
Structured cabling also gives you a fixed place to plan for the future. Cable runs installed inside walls and ceilings are hard to replace once the walls are finished.
Wi-Fi still has a clear role. Phones, tablets and laptops move around, and wireless is the right tool for them. The best setups use cabling for the fixed devices and access points, and let Wi-Fi handle the mobile ones.
Step 1: Assess Your Current Network and Future Needs
Start by listing every device that needs a stable connection. Include workstations, televisions, security cameras, printers, smart home controllers and any access points you plan to mount on walls or ceilings.
Next, note where each device sits and how often it moves. Fixed devices are the best candidates for a wired drop. Mobile devices can stay on Wi-Fi.
Then look ahead. Ask how many devices you expect to add in the next three to five years. A home office that becomes a two-person workspace, or a shop that adds a camera system, changes the number of cable drops you need. It is far less expensive to install extra cable now than to add it later.
Step 2: Choose the Right Cable Category and Plan for Future-Proofing
Cable category is the decision that is hardest to change later, because it is buried in walls. Getting it right means matching the cable to the device, the distance and the upgrade horizon, not just buying the cheapest spool.
Copper categories you will see quoted:
- Cat5e carries 1 gigabit over the 100-meter channel and is still common in older buildings. It is fine for phones, printers and basic access points, but it is a dead end for 10-gigabit backbones.
- Cat6 carries 1 gigabit over the full 100-meter channel and 10 gigabit over shorter distances, typically up to about 55 meters depending on installation conditions. It is the practical minimum for new work.
- Cat6A is designed to carry 10 gigabit over the full 100-meter channel defined by the TIA standards, with tighter noise performance and heavier shielding options. It costs more in materials and takes more labor to terminate, but it removes distance anxiety for 10-gigabit links.
Fiber is a different tool, not a better copper. Single-mode and multimode fiber carry far more bandwidth over far greater distances and are immune to electromagnetic interference, which makes them the right choice for building-to-building links, long backbone runs, and high-bandwidth connections between floors or closets. Fiber does not power devices the way copper Power over Ethernet does, so access points, cameras and phones still need copper to the device even when the backbone is fiber.
A practical way to decide:
- Device type: phones, cameras and access points need copper for Power over Ethernet; servers, switches and storage benefit from fiber or Cat6A.
- Distance: runs approaching or exceeding 100 meters push you toward fiber or an intermediate closet.
- Bandwidth horizon: if you expect 10-gigabit links to endpoints within five years, Cat6A is the safer copper choice; if not, Cat6 is defensible.
- Environment: electrically noisy spaces such as industrial floors or near heavy equipment favor shielded cable or fiber.
Future-proofing is less about buying the fastest cable and more about leaving room to change. Install spare drops in offices, conference rooms and camera locations while walls are open. Leave pull strings and spare capacity in conduit. Keep the rack sized for more patch panel ports than you currently use. Document every run so the next technician does not have to guess.
If you are unsure which category fits your building, a free assessment can help you weigh copper, fiber or a mix based on what you need to connect. Explore our network cabling installation services to learn more.
The article compares the main copper categories and what each one carries.
| Cable | Speed over full 100 m | Best for |
|---|---|---|
| Cat5e | 1 gigabit | Phones, printers, basic access points |
| Cat6 | 1 gigabit (10 gigabit to about 55 m) | Practical minimum for new work |
| Cat6A | 10 gigabit | 10-gigabit links to endpoints |
Step 3: Understand the Main Components of Structured Cabling
A structured cabling system has several parts working together:
- Horizontal cabling: The cable runs from a wiring closet to each room or device outlet.
- Patch panel: A rack-mounted panel where each cable run terminates, so it can be connected to a switch.
- Network rack or enclosure: Holds the patch panel, switch, router and power equipment in one organized location.
- Wall plates and jacks: The outlets where devices connect at the room end.
- Backbone cabling: The connection between wiring closets or between buildings, often fiber-optic.
- Labeling: Every cable and port is labeled so future work is quick and accurate.
Each component matters. A clean rack with clear labels makes troubleshooting and future upgrades far easier than an unlabeled tangle of cables behind a television.
Step 4: Know What Drives Network Cabling Installation Cost
Pricing for a structured cabling project depends on several variables. Here is how the cost of a project generally breaks down.
The dominant driver is the number of drops. A drop is one cable run from the wiring closet to a single wall outlet, terminated at both ends and tested. Every drop carries its own cable, jack, wall plate, patch panel port, patch cord, labor and test time, so cost scales roughly linearly with drop count.
The second driver is cable category. Cat6 and Cat6A use different cable, jacks and patch panels, and Cat6A is heavier and stiffer, which slows pulling and termination. The material premium is real but usually smaller than the labor premium, because the labor to install a drop is largely the same regardless of category.
The third driver is pathway and access. Cable has to travel from the closet to the outlet through walls, ceilings, conduit, cable tray or attic space. Open ceiling with existing J-hooks is fast. Finished drywall with fire blocking, plaster, brick or a drop ceiling full of ductwork is slow.
The fourth driver is distance and building layout. Long horizontal runs need more cable and may require an intermediate closet or a fiber backbone. Multi-floor buildings and separate structures add backbone cabling, which is priced differently from horizontal drops.
The fifth driver is the head-end: the network rack or enclosure, patch panel, switch, UPS, cable management and grounding. A small wall-mount enclosure costs far less than a full floor-standing rack with cable management and power conditioning. Decide early whether you are supplying the electronics or the installer is.
The sixth driver is testing and documentation. Certification testing of every link, printed labels, as-built diagrams and a test report add time but are what separate a documented system from a pile of cables. Ask whether testing is included per drop or billed separately.
Finally, timing and occupancy matter. After-hours, weekend or phased work in an occupied space costs more than empty-building work because crews work around people, protect finishes and often move in stages. New construction is usually cheaper per drop than retrofit because pathways are open.
Watch out: a quote that gives one lump total without a per-drop count, cable category, pathway assumptions and testing scope is impossible to compare against another bid.
Because these variables differ by building, pricing depends on your project. You can request a free estimate to get a quote based on your space.
Step 5: Schedule the Install and Plan for Minimal Disruption
Good planning keeps the work from disrupting your daily routine. Schedule the install for a time when the space is least in use.
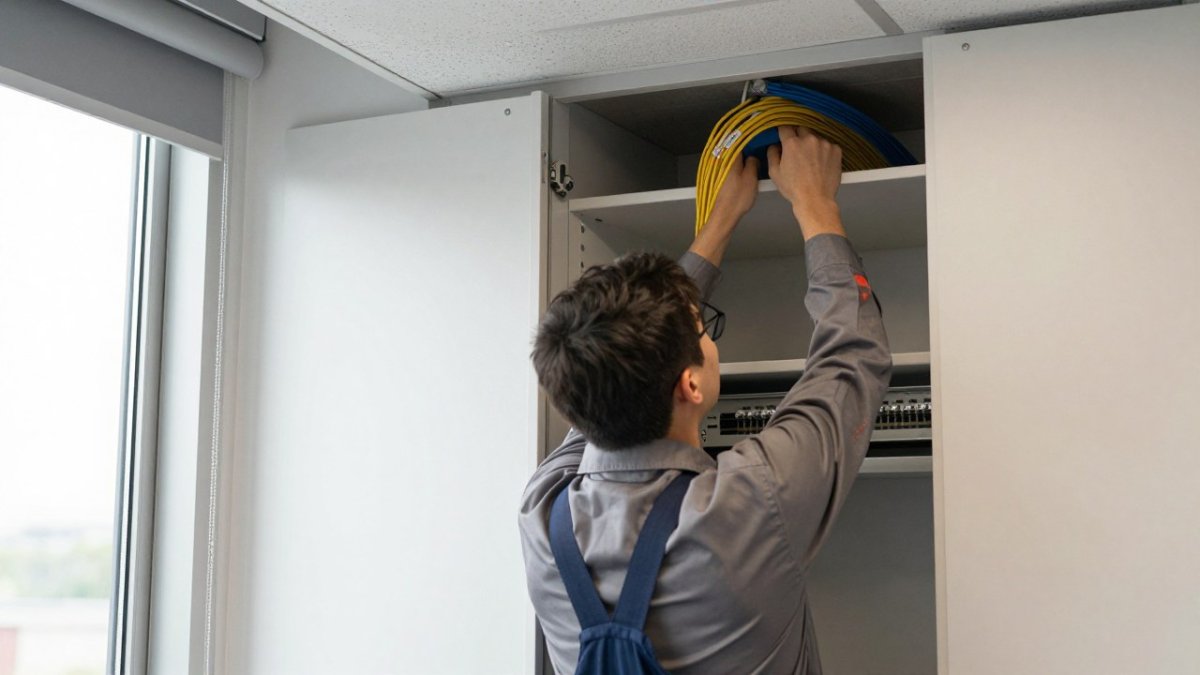
Walls and ceilings are usually the most disruptive part. Ask the installer how they will access the space, how they will protect finished surfaces, and how they will clean up dust and debris.
Confirm the location of the wiring closet or network rack in advance. Clear the area, make sure there is power nearby, and let your installer know which rooms need drops and which devices will connect to them.
Step 6: Test, Certify, and Document Your Network Cabling
Testing confirms that each cable run performs to its rated standard. Ask for a certification report for each drop.
Documentation is just as important. A complete record should include a map of every cable run, the label on each end, the patch panel port it connects to, and the test results. Keep this document with your network equipment so future technicians can troubleshoot quickly.
Retesting after changes or repairs helps catch problems early. Over time, a documented, tested system makes it far easier to maintain speed, stability and security.
Booking Your Network Cabling Consultation With Integrity Home Technologies
Every project starts with understanding your space and goals. Integrity Home Technologies offers an expert assessment of your project needs at no cost, so you can see your options before you commit. Our locally owned team focuses on clean, careful work and honest communication.
If you are weighing cable categories, planning future drops or comparing quotes, a consultation is a practical first step. You can request a free estimate or explore our network cabling installation services to see how we would approach your project.
Frequently Asked Questions
What are network cabling services?
Network cabling services cover the design, installation, testing, and repair of the physical cables that carry data, voice, and video across a building. They typically include copper Ethernet runs such as Cat6, fiber-optic links, patch panels, wall jacks, and network racks. Many providers also label each cable and deliver documentation so future changes are easier. For homes and small businesses, the main benefit is a stable wired backbone that supports Wi-Fi access points and devices that need consistent speed and low latency.
How long does home network cabling installation take?
Timing depends on the number of drops, how accessible the walls and ceilings are, and whether the installer must fish cable through finished construction. Timing varies with the project, and larger homes or projects requiring drywall repair can take longer. Ask your installer for a timeline during the free assessment so you can plan around the work and any disruption to your household.
How many Ethernet ports should a home have?
The right number depends on how you use the home, but planning extra drops is usually cheaper than adding them later. Consider one drop per primary workspace, each TV or streaming location, gaming area, and access point location, plus a few spares in rooms where you might add equipment. Placing drops near where Wi-Fi access points will be mounted is especially useful, because a wired connection to each access point improves coverage and performance throughout the house.
Is wired Ethernet better than Wi-Fi for home networking?
Wired Ethernet generally provides more consistent speed, lower latency, and better reliability than Wi-Fi because it is not affected by walls, interference, or the number of nearby devices. Wi-Fi remains essential for mobility and phones, so the strongest setup usually combines both: structured cabling to fixed devices and access points, with Wi-Fi serving everything else. Wired connections are especially valuable for video calls, large file transfers, security cameras, and home offices.
Ready to plan a network that is secure, connected and built to last? Get a Free Estimate from Integrity Home Technologies and start with a clear, honest plan.