 How-to
Can You Mix Security Camera Brands in One System?
Last Updated: October 30, 2026
Quick Summary
Yes, you can mix security camera brands in one system if the cameras support shared standards like ONVIF or RTSP and the recorder lists them as compatible. Brand-specific features such as cloud clips and certain AI alerts may stay in each manufacturer's app, so test one camera before buying a full set.
- Compatibility depends on shared protocols like ONVIF or RTSP, not on the brand name.
- Check the recorder's published compatibility list before buying any camera.
- Confirm motion events reach the recorder, not only the camera's own app.
- Buy one camera of a new brand and test it before committing to a full set.
- Set DHCP reservations so cameras keep their IP addresses after a router restart.
Table of Contents
- Why Mixing Security Camera Brands Is Possible but Not Automatic
- How ONVIF Camera Compatibility Works and What It Does Not Cover
- Compatibility Checklist by Protocol, Recorder, and Feature
- Step-by-Step Setup for a Mixed-Brand Camera System
- Step 1: Inventory and document every camera
- Step 2: Choose and stage the recorder
- Step 3: Reserve fixed IP addresses
- Step 4: Update firmware on every device
- Step 5: Add cameras one at a time
- Step 6: Configure recording and events per camera
- Step 7: Test remote access and playback
- Step 8: Document and back up the configuration
- Troubleshooting the most common failures
- How to Connect Security Cameras to a Smart Home Hub or NVR
- View Multiple Security Cameras in One App Without Losing Features
- Booking a Mixed-Brand Camera Review With Integrity Home Technologies
- Frequently Asked Questions
Why Mixing Security Camera Brands Is Possible but Not Automatic
Yes, you can mix security camera brands in one system, but it rarely works on its own. Readers adding Lorex cameras to a mixed system can book a professional Lorex camera installation instead of doing the setup themselves.
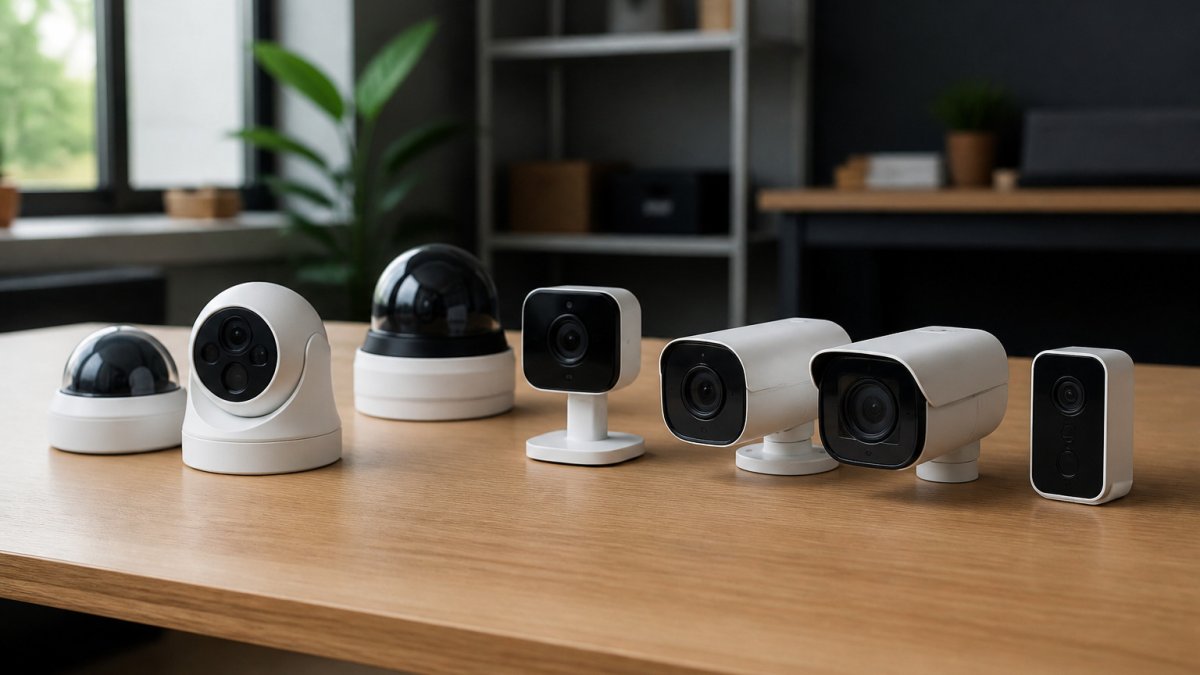
Each camera brand has its own app, cloud account, and alerts, so checking the driveway, back door, and garage means opening three apps. A unified system closes that gap.
The three things that decide whether mixing works:
- Shared protocol support. Both cameras need to speak a common language, such as ONVIF or RTSP.
- A common recorder or hub. A network video recorder (NVR) or digital video recorder (DVR) can pull in streams from many brands.
- Feature parity. Motion alerts, two-way audio, and night vision may only work on one brand's own app.
Compatibility is the starting point; feature loss is the part most guides skip. A camera can connect to a recorder and still lose its alerts, PTZ control, or cloud clips.
How ONVIF Camera Compatibility Works and What It Does Not Cover
ONVIF is an open standard that lets cameras and recording software from different makers talk to each other. Before you decide whether to attempt this yourself, compare the professional versus DIY smart home security options.
ONVIF covers basic tasks well: finding the camera on the network, requesting a video stream, and sometimes controlling pan, tilt, and zoom.
A useful rule: ONVIF tells you whether a camera can be seen by a recorder, not whether every feature will follow along.
Checking RTSP Support and Stream URLs
RTSP (Real Time Streaming Protocol) is how many cameras send live video to a recorder or viewing app. If a camera supports RTSP, you can often build a stream URL and point other software at it, one of the most practical tools for mixing brands.
To check RTSP support, follow these steps:
- Look up the camera model in the manufacturer's manual or support site for "RTSP" or "stream URL."
- Confirm the exact format, including the username, password, IP address, and channel path.
- Test the URL in a media player such as VLC before adding it to a recorder.
- Note the stream types. Many cameras offer a main stream for high-resolution recording and a sub-stream for lower-bandwidth viewing.
Watch out: Changing the camera's password can break every stream URL that uses it. Record all URLs in one place before making changes.
Compatibility Checklist by Protocol, Recorder, and Feature
Most guides say to "check compatibility" without explaining what that means at the protocol level. This checklist is built to be used before you buy, with the specific verification step for each item and the failure mode you are trying to avoid.
Protocol verification
- ONVIF profile is named, not just "supported." Look for Profile S (streaming) at minimum; Profile T adds advanced streaming and is worth confirming for two-way audio or metadata events. A camera listing only "ONVIF compatible" without a profile is a yellow flag, check the datasheet PDF, not the retail listing.
- RTSP stream URL format is documented. The manual or support site should publish the exact URL pattern, including the channel path (main-stream and separate sub-stream paths). If you cannot find the URL format before purchase, assume you will not find it after.
- Authentication method is known. Some cameras use digest, some basic, and some require a token in the URL. A recorder that supports only one method may fail to authenticate even when the stream URL is correct.
Recorder verification
- The recorder's compatibility list names the camera brand and model. "Works with ONVIF cameras" is not the same as a tested model list; check the recorder manufacturer's support page for a published compatibility matrix.
- Channel count and resolution match your plan. A 4-channel recorder will not accept 6 cameras, and an 8MP camera on a recorder capped at 4MP will downscale.
- Recording mode is confirmed per camera. Continuous, motion-triggered, and event-based recording are configured differently; confirm the recorder supports the mode you want for each brand.
Feature verification
- Motion events reach the recorder, not just the camera app. This is the most common surprise. Many cameras generate motion events only in their own cloud or app; confirm the recorder can receive ONVIF event notifications or that the camera pushes events over the network.
- Two-way audio is tested or explicitly ruled out. Audio support varies by profile and recorder; do not assume a camera with a speaker will let you talk through the recorder's app.
- PTZ control is confirmed. Pan, tilt, and zoom over ONVIF is not universal; if PTZ matters, verify the specific profile and the recorder's PTZ support.
The summary table
| Area | What to Verify | Verification Step | Common Failure |
|---|---|---|---|
| Protocol | ONVIF profile (S or T) and RTSP URL format | Read the datasheet PDF, not the retail page | "ONVIF compatible" with no profile named |
| Authentication | Digest, basic, or token method | Check the manual's stream URL examples | Recorder cannot authenticate the stream |
| Recorder | Published model compatibility list | Search the recorder maker's support site | Camera adds but feed drops after reboot |
| Recording | Mode support per brand | Confirm in the recorder manual | Motion recording works only on one brand |
| Events | ONVIF event notification support | Test one camera before buying more | Alerts stay in the camera's own app |
| Storage | Retention math against drive size | Calculate GB before purchase | Drive fills in days, not weeks |
| Audio/PTZ | Profile and recorder support | Test with one camera | Features silently unavailable |
The checklist is deliberately front-loaded: protocol and recorder verification happen before purchase, feature verification happens with one test camera, and storage math happens before you rely on retention.
Step-by-Step Setup for a Mixed-Brand Camera System
This workflow assumes two or more camera brands and a central NVR or DVR. Plan on two to four hours for a small system and most of a day for a larger one. The steps are ordered so each one can be tested before the next begins.
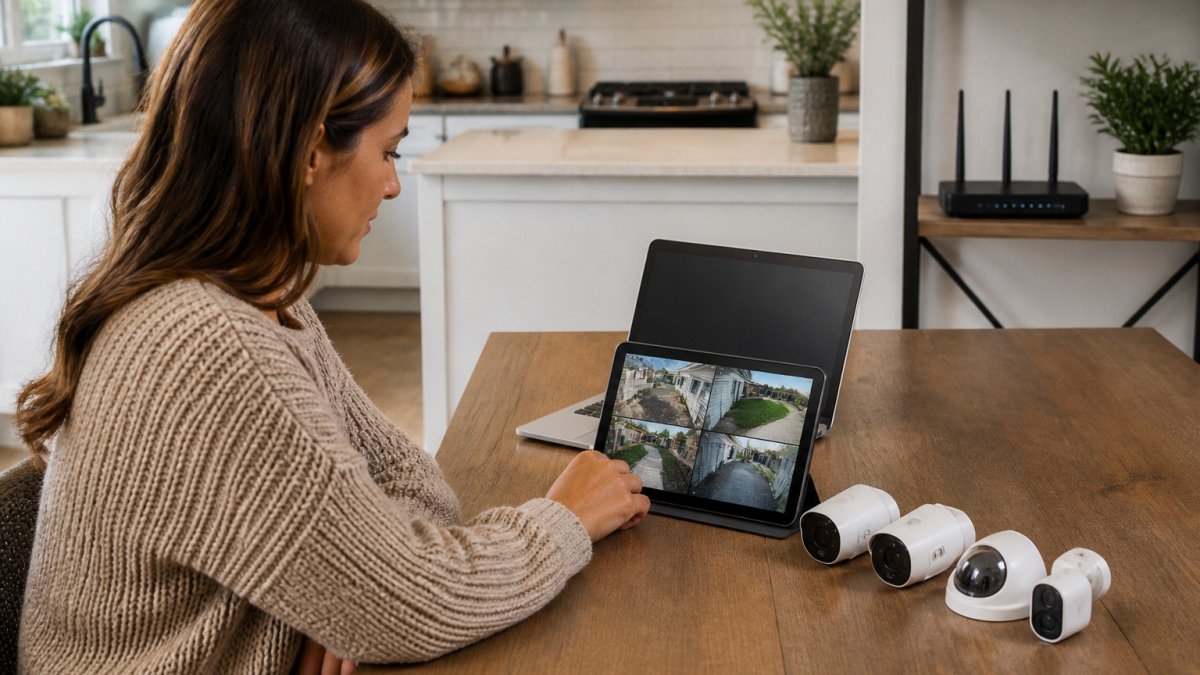
Step 1: Inventory and document every camera
Before touching the network, build a spreadsheet with one row per camera: brand, model, firmware version, ONVIF profile (if listed), RTSP URL format, IP address, and login credentials. Store credentials in a password manager, not in the spreadsheet itself.
Step 2: Choose and stage the recorder
Select an NVR or DVR whose published compatibility list names your camera brands. Stage it near your router before mounting anything, connect it to the network, and confirm you can reach its web interface or app. Doing this before cameras are mounted saves ladder time.
Step 3: Reserve fixed IP addresses
Log into your router and set DHCP reservations for each camera and the recorder. A camera that changes IP address after a router reboot will drop off the recorder. Reservations are more reliable than static IPs set on the camera itself, because they survive camera resets.
Step 4: Update firmware on every device
Update the recorder first, then each camera, one at a time. Reboot after each update and confirm the camera comes back online. Outdated firmware is a leading cause of ONVIF discovery failures, and mixing firmware versions across brands makes authentication problems harder to diagnose.
Step 5: Add cameras one at a time
Add a single camera to the recorder and confirm live video before adding the next. For ONVIF cameras, use the recorder's ONVIF discovery or manual-add flow. For RTSP-only cameras, paste the stream URL directly. If the camera does not appear, test the RTSP URL in VLC first, if VLC cannot open it, the recorder will not either.
Step 6: Configure recording and events per camera
Set the recording mode (continuous, motion, or event) for each camera individually. Then test motion events: walk in front of the camera and confirm the event appears in the recorder's event log, not just the camera's own app. If events do not cross over, the camera likely does not push ONVIF event notifications, note that limitation and decide whether the camera's own app is an acceptable fallback.
Step 7: Test remote access and playback
Confirm live view and playback work from the recorder's mobile app and desktop client, both locally and away from home. Test a time-range playback search across cameras from different brands, mixed systems often reveal gaps here, because some recorders index events differently by brand.
Step 8: Document and back up the configuration
Export the recorder's configuration file if it supports it. Save the spreadsheet, stream URLs, and a network diagram. When a camera fails six months from now, this documentation turns a two-hour troubleshooting session into a ten-minute fix.
Troubleshooting the most common failures
| Symptom | Likely Cause | Fix |
|---|---|---|
| Camera not discovered | ONVIF disabled or wrong profile | Enable ONVIF in the camera's web UI; confirm Profile S |
| Stream opens then drops | IP address changed | Set a DHCP reservation |
| Authentication failure | Password changed or wrong auth method | Re-enter credentials; check digest vs. basic |
| Motion alerts missing | Events stay in camera app | Confirm ONVIF event push; accept app fallback if not |
| High latency on mobile | Main stream used for remote view | Switch remote view to the sub-stream |
| Playback gaps | Recording mode mismatch | Set continuous or verify motion sensitivity |
The pattern behind most failures is the same: the camera and recorder are talking, but not about the same thing. Testing one camera at each step isolates which layer, network, authentication, stream, or event, is failing.
How to Connect Security Cameras to a Smart Home Hub or NVR
A smart home hub and an NVR do different jobs. The hub handles automation, such as turning on lights when motion is detected.
Some smart home hubs can read motion events from supported cameras. Others cannot.
Common connection problems include:
- Cameras on a separate guest network that the NVR cannot reach
- Duplicate IP addresses after a router restart
- Hub integrations that work for one camera brand but not another
Watch out: Placing cameras on a separate network for security can block the recorder from reaching them. Plan the network layout before you connect devices.
View Multiple Security Cameras in One App Without Losing Features
Most people want one app for all their cameras. That goal is reachable, but it may not include every feature from every brand.
Start with the recorder's app. Most NVRs offer a mobile app and desktop software that show live feeds from all connected cameras, the simplest way to get one view. Check these points before you commit:
- Live view: Can you see every camera on one screen layout?
- Playback: Can you search recordings across all cameras by time?
- Alerts: Do push notifications come from every camera, or only some?
Some features will likely stay in each manufacturer's app, including certain AI modes, cloud clips, or advanced settings. Accept that trade-off or keep the brand app open for those tasks.
Booking a Mixed-Brand Camera Review With Integrity Home Technologies
Mixing security camera brands can work well, but the details decide the result.
If you are ready to get started, request a free estimate to get a clear plan and a quote before any work begins.
Do I need to replace my existing cameras to build one system? Not always. Many cameras can be added to a compatible NVR.
Feature loss usually happens because the recorder reads only the basic video stream.
Is a mixed-brand camera system less secure? Not inherently, but it adds risk if devices are poorly configured.
Frequently Asked Questions
Can you use security cameras from different brands in one app?
Often yes, but only when every camera supports a shared standard such as ONVIF or exposes an RTSP stream URL that the app can read. Many multi-brand apps and network video recorders can pull feeds from several manufacturers into one view. Some cameras, however, lock their feeds to the manufacturer's own cloud app, so check each model's specifications before you buy. Confirm that every camera can be added through a third-party interface and test one camera in the target app before committing to the rest of the system.
How do you view multiple IP camera brands on one screen?
Use a video management software platform or a network video recorder that supports ONVIF Profile S or RTSP. Add each camera by its IP address and credentials, then build a multi-camera layout that places each feed in its own tile. Expect some differences: frame rates, resolution options, and PTZ controls may vary by brand. Keep the recorder on a wired Ethernet connection where possible, since a weak Wi-Fi link can cause frames to drop when several streams run at once.
Do cameras from different brands work with the same smart home hub?
They can, but the hub usually connects to cameras through a bridge, integration, or the recorder rather than directly. Many hubs support a limited list of camera brands natively, and anything outside that list may only show up through an ONVIF or RTSP integration. Before purchasing, verify that the hub lists each camera brand or supports the protocol you plan to use. Motion alerts and two-way audio may behave differently across brands even when live video works.
Will mixing camera brands affect alerts, recording, or remote access?
It can. Motion detection and event notifications often depend on brand-specific analytics, so a camera added through a generic protocol may send fewer alerts or none at all. Recording settings such as retention, resolution, and continuous versus event-based capture may need to be configured separately for each camera. Remote access may also differ, since some brands route video through their own cloud service. Test alerts, recording playback, and remote viewing on each camera after setup, and document which features work for each model.