 How-to
Integrating Different Security Camera Brands: A Setup Guide
Table of Contents
- Can Different Brands of Security Cameras Work Together?
- Understanding Security Camera Compatibility Requirements
- ONVIF-Compatible Security Cameras and What They Enable
- Viewing Multiple Security Cameras in One App
- How to Connect Different Cameras to One NVR
- Security and Privacy When Combining Systems
- Common Mistakes to Avoid When Integrating Cameras
- Troubleshooting Integration Issues
- Frequently Asked Questions
Last Updated: October 12, 2026
Can Different Brands of Security Cameras Work Together?
Yes, different brands of security cameras can work together. The key is understanding which cameras support open standards and how your recording system connects them.
You don't need matching logos on every device, what matters is whether your cameras speak the same language.
The biggest mistake is buying cameras first, then hoping they'll work together. Verify compatibility before you purchase by checking for ONVIF (an open standard) or RTSP (a streaming protocol) support.
Understanding Security Camera Compatibility Requirements
Integrating different security camera brands depends on three core factors: the cameras themselves, your recording hardware, and your viewing software. Each piece must support the same communication standards.
Open Standards: ONVIF and RTSP
ONVIF (Open Network Video Interface Forum) is an industry standard that lets security cameras from different manufacturers work together, a universal language for IP cameras.
ONVIF handles the heavy lifting:
- Camera discovery (finding cameras on your network)
- Configuration (adjusting settings remotely)
- Video stream access (pulling live feeds)
- Event notifications (alerts when motion is detected)
RTSP (Real Time Streaming Protocol) is how cameras send video data. Many systems support RTSP even without full ONVIF support.
ONVIF-compatible cameras integrate more deeply, giving you full control and automation.
Check the camera's spec sheet before buying. Look for "ONVIF Profile S" or "ONVIF Profile G" in the documentation.
Wired vs. Wi-Fi Camera Considerations
Wired cameras connect through ethernet cables, drawing power from the same cable.
Wi-Fi cameras are easier to install but depend on network strength, a weak signal causes lag, dropouts, and failed recordings.
Mixing wired and Wi-Fi cameras is possible but requires planning.
Here's the practical trade-off:
| Camera Type | Network Stability | Integration Ease | Best For |
|---|---|---|---|
| Wired IP | Excellent | Easier with NVR | Permanent installations |
| Wi-Fi IP | Variable | Easier with VMS | Temporary or rental setups |
| Hybrid mix | Good | Requires planning | Larger properties |
If you combine both types, use software that handles wired and wireless feeds. Wired cameras don't compete with your home Wi-Fi; Wi-Fi cameras do.
ONVIF-Compatible Security Cameras and What They Enable
This avoids vendor lock-in, a camera from Brand A and one from Brand B can sit on the same system and function identically.
ONVIF-compatible cameras let you:
- Add new cameras without replacing existing ones
- Use any compatible NVR or VMS software
- Switch recording systems later if needed
- Control cameras through standard apps
The catch: advanced analytics (person detection, vehicle tracking) often require matching brands. Basic features, live view, recording, playback, motion alerts, work reliably across manufacturers.
When shopping, ask the vendor directly: "Does this camera support ONVIF Profile S?" If they hesitate or say "mostly," keep shopping.
Viewing Multiple Security Cameras in One App
Juggling five different apps to see all your cameras is a common frustration. Integrating different security camera brands centralizes everything into a single viewing interface.
With an NVR, its software becomes your command center; with a cloud-based VMS, the VMS app handles everything. Either way, you see all cameras, regardless of brand, in one place.
A unified view does more than just convenience:
- Monitor all cameras simultaneously on one screen
- Set up alerts that trigger across multiple cameras
- Search recordings from any camera without switching apps
- Control camera settings from one interface
The best unified systems let you organize cameras by room or zone, watch the front door while reviewing the backyard, or zoom into one feed while others play in the background.
Network Video Recorders and Video Management Software
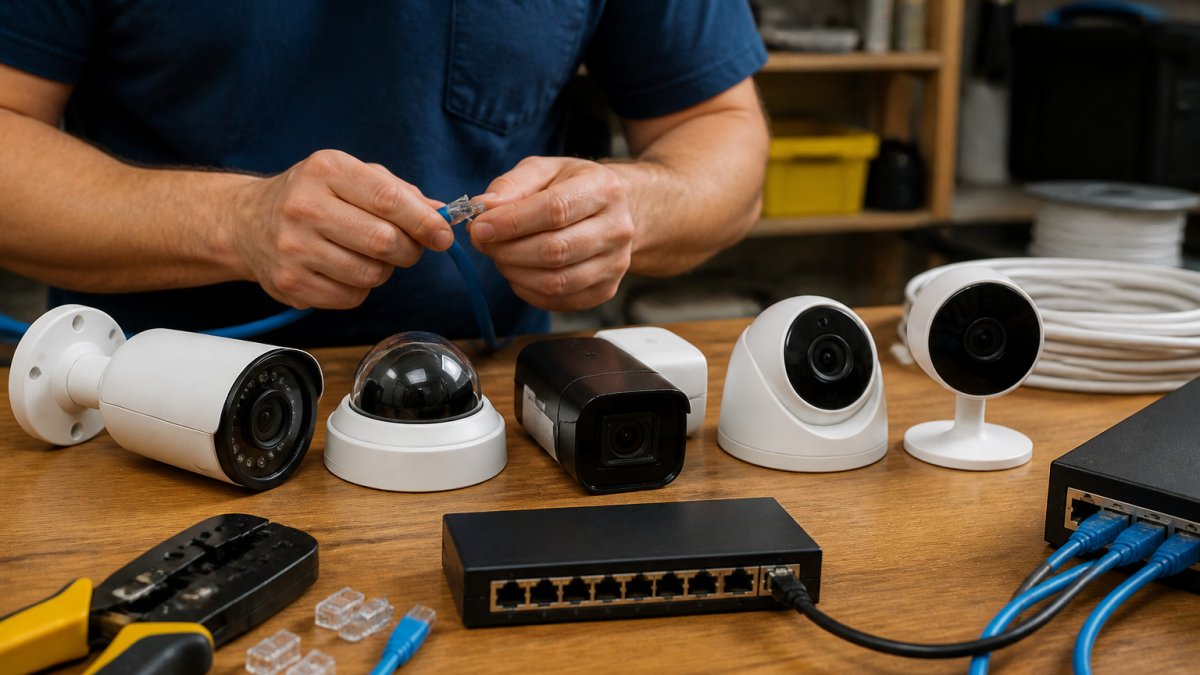
Network Video Recorders (NVRs) are hardware devices on your network that record video from IP cameras, the backbone of most integrated systems.
An NVR does three things:
- Receives video streams from cameras
- Stores recordings on internal hard drives
- Provides a viewing interface (usually a web app or mobile app)
Video Management Software (VMS) does the same job without dedicated hardware. It's more flexible but requires a computer or cloud service running constantly.
VMS systems are more powerful but need more setup, better for advanced analytics, multi-site monitoring, or smart home integration.
The choice depends on your scale:
- Small setup (1-4 cameras): Cloud VMS or a simple NVR
- Medium setup (5-8 cameras): Dedicated NVR with local storage
- Large setup (9+ cameras): Professional NVR or enterprise VMS
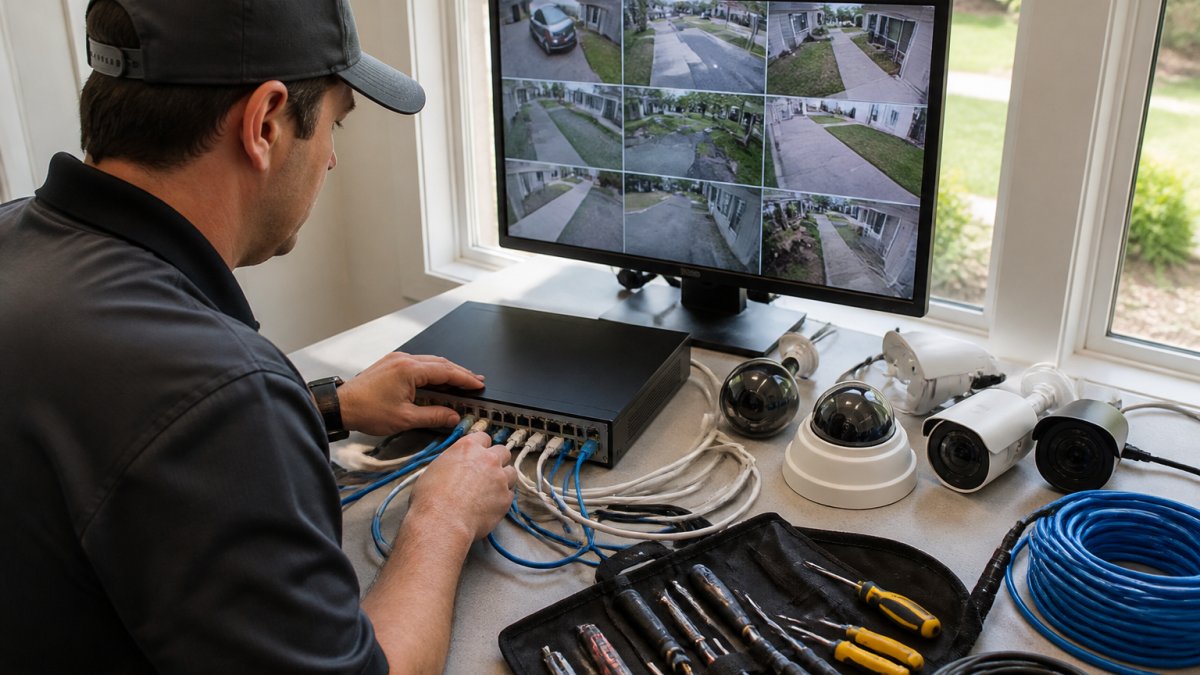
How to Connect Different Cameras to One NVR
Connecting mixed-brand cameras to a single NVR is straightforward if you follow the right steps. Most integration problems happen because people skip preparation.
Step 1: Verify Camera Specifications and Credentials
Before touching any equipment, gather information on each camera.
For each camera, find:
- Camera model number and manufacturer
- IP address (printed on the camera or found in your router)
- Default username and password
- ONVIF support (check the manual or manufacturer website)
Write it down, many integration failures happen because someone forgot a password or IP address.
Test each camera on your network: type its IP address into a browser. If you see a live feed, it's connected; if not, it isn't on the network yet.
Step 2: Configure Network Settings and IP Addresses
Your NVR and cameras must be on the same network with compatible IP addresses.
Most home networks use DHCP, which assigns IP addresses automatically, but static IPs are more reliable, a camera keeps the same address even after a power outage.
Steps to assign static IPs:
- Log into your router's admin panel
- Find the DHCP settings
- Assign static IPs to your NVR and each camera (use addresses like 192.168.1.100, 192.168.1.101, etc.)
- Restart each device
If router settings aren't your thing, many NVRs have a built-in DHCP server that assigns IPs to cameras automatically.
Check your bandwidth: a 4MP camera at 30 fps uses roughly 5-8 Mbps, so 6 cameras need 30-48 Mbps.
Step 3: Add Cameras to Your NVR or VMS
Most modern NVRs have an "Add Camera" or "Device Discovery" feature, where ONVIF compatibility shines.
In your NVR's settings:
- Go to Camera Management or Device Discovery
- Select "Auto-Discover" or "Add ONVIF Device"
- The NVR scans your network and lists available cameras
- Select each camera and click "Add"
- Enter the camera's username and password when prompted
If auto-discovery doesn't work, add cameras manually:
- Go to Camera Management
- Select "Add Camera" or "Manual Add"
- Enter the camera's IP address
- Enter username and password
- Select the stream type (RTSP or ONVIF)
- Click "Save"
The NVR tests the connection: success shows a live feed within seconds; failure means double-checking the IP address and credentials.
Some cameras need firmware updates before working with your NVR, outdated firmware is a common reason mixed-brand systems fail.
Step 4: Test Connectivity and Playback
Once all cameras are added, test everything before you rely on it.
Run these tests:
- Live view: Watch each camera in real time through your NVR
- Recording: Let the system record for 30 minutes, then stop and check that footage saved
- Playback: Rewind and watch recorded video from each camera
- Remote access: View cameras from your phone or computer outside your home network
If a camera drops offline during testing, you've found a problem before it matters, usually loose cables, weak Wi-Fi, or incorrect credentials.
After 24 hours, check your NVR's hard drive usage. If one camera uses much more space than others, it may be recording at a higher resolution or frame rate than intended.
Security and Privacy When Combining Systems
Integrating cameras from different brands creates a network with multiple entry points, so security becomes more complex.
Your NVR should also have a strong password, since it's the gateway to all your cameras.
Consider these security practices:
- Update firmware regularly (most manufacturers release security patches quarterly)
- Use a separate network for cameras if your router supports it (guest network or VLAN)
- Enable encryption on remote access (HTTPS, not HTTP)
- Disable features you don't use (like cloud upload if you don't need it)
Privacy matters too. If you record areas where guests or family expect privacy (bedrooms, bathrooms), inform them and check local recording-consent regulations.
Cloud storage adds convenience but trades privacy, footage is stored on someone else's server, so understand the vendor's privacy policy before enabling it.
Common Mistakes to Avoid When Integrating Cameras
Most integration problems are preventable. We see the same mistakes repeatedly.
Skipping documentation: Not writing down IP addresses, passwords, or camera models.
Ignoring firmware updates: Outdated firmware often fails to integrate. Check for updates before adding cameras.
Cheap network cables: Old or low-quality ethernet cables cause intermittent connection loss.
Not testing before relying on it: Testing reveals problems while you can still fix them.
Troubleshooting Integration Issues
When mixed-brand cameras don't work together, the problem is usually network, credentials, or compatibility.
Cameras don't appear in NVR:
- Verify all cameras are on the same network (ping their IP addresses from your computer)
- Check that ONVIF is enabled on the camera (usually in camera settings)
- Restart the NVR and try discovery again
- Update the NVR's firmware
Live view works but recording fails:
- Check NVR hard drive space (full drives stop recording)
- Verify recording is enabled in the NVR's settings
- Check camera's video codec (NVR must support it)
- Restart the camera and NVR
Remote viewing doesn't work:
- Verify port forwarding is set up correctly in your router
- Check that remote access is enabled in NVR settings
- Confirm you're using the correct external IP address
- Restart the router and NVR
Cameras go offline randomly:
- Check Wi-Fi signal strength (weak signal causes dropouts)
- Verify camera power supply is stable
- Update camera firmware
- Reduce video resolution or frame rate to lower bandwidth demand
Slow playback or stuttering:
- Check network bandwidth usage
- Reduce number of cameras recording simultaneously
- Lower resolution on less-critical cameras
- Upgrade NVR hard drive to faster model
If network troubleshooting isn't your strength, professional help makes sense. A properly integrated system runs reliably for years.
Integrating different security camera brands works when you understand the standards that make them compatible. If you're planning a mixed-brand camera setup or want to add cameras to an existing system, Integrity Home Technologies offers free expert assessment of your needs and can handle the full integration process with clean, reliable installation work.
Frequently Asked Questions
Can you mix and match security cameras from different brands?
Yes, if the cameras support open standards like ONVIF or RTSP. Most IP cameras and many modern Wi-Fi cameras follow these protocols, which allow different manufacturers' equipment to communicate. However, not all cameras support these standards, older models and some proprietary systems do not. Before purchasing or integrating cameras, verify that each camera's specifications list ONVIF or RTSP support. If you already own cameras from different brands, check the manufacturer's documentation or contact support to confirm compatibility before attempting integration.
How do I connect different cameras to one NVR?
First, verify all cameras support ONVIF or RTSP and confirm the NVR can accept third-party cameras. Connect each camera to your network, assign it a static IP address, and note the camera's credentials. Log into the NVR's software, navigate to the camera addition or integration menu, and enter each camera's IP address and login information. Most NVRs will auto-detect cameras on the network, but manual entry may be required. Test each camera's live view and recording before relying on the system for monitoring.
What's the difference between ONVIF-compatible security cameras and proprietary systems?
ONVIF-compatible cameras follow an open standard, meaning they work with NVRs and video management software from any manufacturer that also supports ONVIF. Proprietary systems are designed to work only with equipment from the same brand, limiting your flexibility and future upgrade options. ONVIF cameras offer greater scalability and allow you to add cameras from different brands without replacing your entire system. Proprietary systems may offer tighter integration and support but lock you into one vendor and increase long-term costs if you need to expand or switch systems.
Can I view multiple security cameras from different brands in one app?
Yes, using a video management software (VMS) or a compatible NVR with a unified interface. Many VMS platforms support multiple camera brands through ONVIF or RTSP, displaying all feeds in a single dashboard. Some NVRs also allow you to add third-party cameras and view them alongside native cameras in one app. However, not all manufacturers' apps support cross-brand viewing, you may need to use a third-party VMS or the NVR's software rather than individual camera manufacturer apps. Verify compatibility before purchase to ensure centralized monitoring is possible.